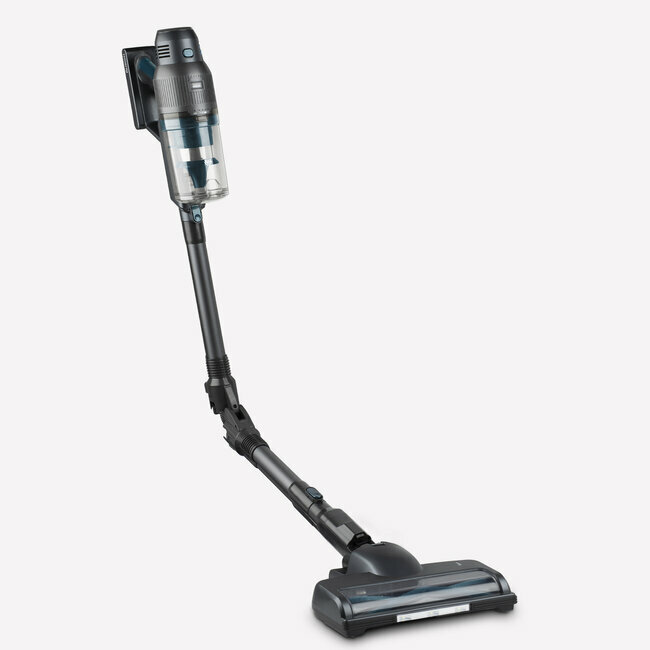
Welcome to the help page accessories & spare parts frequently asked questions Thank you for using the online help

UPX26

UPX26

UPX26

Frequently asked questions

accessories & spare parts

Frequently asked questions

accessories & spare parts

Welcome to the help page accessories & spare parts frequently asked questions Thank you for using the online help

accessories & spare parts

assistance & FAQ's

product manual

logo H.koenig

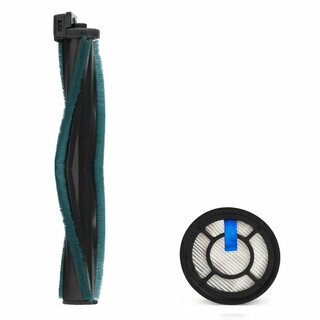
image Power brush

Power brush

40,00 €

image Handle assembly

Handle assembly

30,00 €

image Metal tube assembly

Metal tube assembly

8,00 €

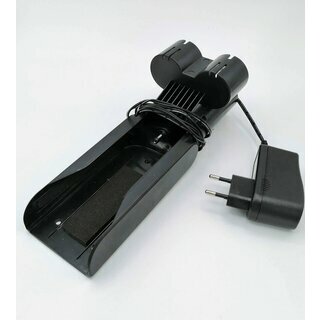
image Charging stand with charger

Charging stand with charger

10,00 €

image rechargeable battery

rechargeable battery

35,90 €

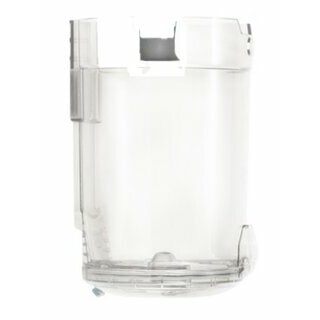
image Dust container

Dust container

16,00 €

image Dust pan gasket

Dust pan gasket

8,00 €

image Filter UP12

Filter UP12

15,90 €

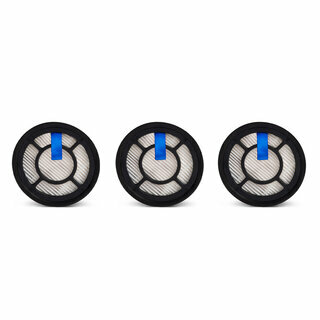
image 3 Filter pack

3 Filter pack

14,99 €

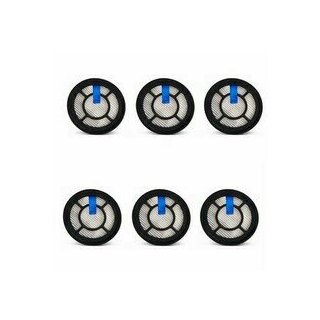
image 6 Filter pack

6 Filter pack

24,99 €

Didn't find it? Don't panic!

maintenance

  • How do I clean the dust compartment?

    To clean the dust compartment of your device, follow these steps:

    1. 1. Turn off and unplug your device before starting to clean the dust compartment.

    2. Remove the dust pan from the unit. Refer to your unit's user manual for the exact location of the dust compartment and the method of removing it.

    3. Empty the contents of the dust collector completely into a waste bin. Be careful not to spill the dust next to the dust bin to avoid damage.

    4. Use a damp cloth to wipe the inside of the dust compartment. Make sure the cloth is slightly damp, but not dripping with water. Do not immerse the dust compartment in water or put it in the dishwasher as this may damage the electrical components.

    5. Check that the dust compartment is completely dry before replacing it in the appliance. Let it air dry if necessary.

    6. Once the dust cover is dry, replace it correctly in the appliance according to the manufacturer's instructions. Ensure that it is securely in place before using the appliance again.

    It is recommended that the dust compartment is emptied and cleaned regularly to maintain optimum suction performance and avoid excessive dust and dirt build-up. The frequency of cleaning will depend on the amount of dust accumulated and the frequency of use of your machine.

    Always consult the specific user manual for your appliance for precise instructions on cleaning the dust compartment, as procedures may vary slightly depending on the model.

    Did the answer solve your problem?
    No
  • How to clean the filter?

    To clean the filter of your appliance, follow the steps below:

    1. Switch off and unplug your appliance before cleaning the filter.

    2. Remove the dust pan or the compartment where the filter is located. Refer to your unit's user manual for the exact location of the filter.

    3. Gently tap the filter against the side of the dust pan to remove accumulated dust. You can also use a soft brush to remove stubborn particles.

    4. If the filter is clogged and needs further cleaning, wash it by hand with warm water. Do not use hot water as this may damage the filter material. Also avoid using detergents or chemicals as they may alter the properties of the filter.

    5. After washing the filter, rinse it thoroughly with clean water to remove any soap residue.

    6. Place the filter in a well-ventilated area and allow it to dry completely. Make sure it is completely dry before putting it back into the appliance. Using a wet filter may cause performance or safety problems.

    7. Once the filter is completely dry, replace it in the appliance according to the manufacturer's instructions. Ensure that it is correctly positioned and secured in place before using the appliance again.

    It is recommended that you clean the filter regularly, depending on how often you use your appliance and how dirty it is. This will help maintain optimum cleaning performance and avoid problems with overheating or appliance failure.

    Did the answer solve your problem?
    No

troubleshooting

  • The battery cannot be charged.

    If you are having trouble charging the battery in your device and you have checked the wall socket and the integrity of the connections, the charger may be damaged. Here are the steps you can take:

    1. Visually check the charger: Carefully examine the charger for signs of damage, such as broken wires, bent plugs or missing parts. Make sure that all components of the charger are in good condition.

    2. Test the charger: If possible, try charging another device with the same charger to see if it works properly. If the charger works with another device, the problem is probably in your device itself.

    3. Replace the charger: If the charger is damaged or does not work even with another device, it is advisable to replace it. Contact the manufacturer of your device or look for a compatible replacement charger for your specific model.

    It is also possible that the charging problem is related to the battery itself. If you have tried with another working charger and the battery still does not charge, it is recommended that you contact the manufacturer's customer service for further assistance. They will be able to guide you through the troubleshooting steps or offer solutions tailored to your situation.

    Did the answer solve your problem?
    No
  • The appliance refuses to start.

    "If your device refuses to start, here are the steps you can take to solve the problem:

    1. Check that the battery is properly charged: Make sure the device has been sufficiently charged by plugging it into its charger and allowing it to charge for the recommended time. If the battery is low or completely discharged, the device may not start.

    2. Check the position of the power switch: Make sure that the power switch of the device is in the "ON" position. Sometimes the switch may be accidentally turned off, preventing the appliance from starting.

    3. Check the battery connection: Make sure that the battery is correctly inserted in the device and that it makes a good contact. Sometimes a bad connection can prevent the device from starting. Try removing and reinserting the battery to make sure it is secure.

    4. Replace the battery: If you have followed all the previous steps and the device still refuses to start, the battery may be defective. In this case, consider replacing the battery with a new one, making sure you choose a battery that is compatible with your device.
    "

    Did the answer solve your problem?
    No
  • The appliance stops or does not work

    If your device stops or does not work properly, we recommend that you take the following steps:

    1. Fully charge the battery: Make sure the device is properly connected to its charger and allow it to fully charge for the recommended time. A weak battery may cause the device to operate intermittently or shut down.

    2. Clean the brush thoroughly: Remove the brush from the unit and check for obstructions or tangles of hair, wires or other debris. Clean the brush thoroughly, removing any accumulated debris. Also make sure the brush shaft rotates freely without any blockages.

    Once you have charged the battery and cleaned the brush, turn the unit back on and test if it is working properly. If the problem persists, you can refer to your unit's user manual for further instructions or contact the manufacturer's customer service department for assistance.

    Did the answer solve your problem?
    No
  • The brush of my hoover doesn't turn anymore?

    If the brush on your hoover stops spinning, here are the steps to take to solve the problem:

    1. Check the motorized brush: Remove the removable brush roller and inspect it carefully. Accumulations of dust, hair or other debris may have wrapped around the roller, which may prevent it from rotating. Clean the roller thoroughly by removing all debris. Also make sure there are no obstructions inside the brush itself.

    2. Check the position of the dust pan filter: The dust pan filter is usually located near the brush or near the dust compartment. Make sure the filter is correctly positioned and locked in place. Incorrect positioning of the filter can cause electrical connection problems and prevent the motorized brush from operating properly.

    After completing these checks, replace the brush roller and dust pan filter. Then test the hoover to see if the brush rotates correctly.

    Did the answer solve your problem?
    No
  • The suction power is slow.

    If you find that the suction power of your hoover is slow, here are some checks and actions to take:

    1. Make sure the hoover battery is properly charged. A weak battery can lead to a decrease in suction power. If the battery is discharged, place the hoover on its charging base and allow it to fully charge.

    2. Clean and empty the dust container and the cyclone container. A full or clogged dust pan can impede airflow and reduce suction power. Empty the dust pan and make sure to remove any dirt or debris that could block the airflow. Also clean the cyclone pan according to the manufacturer's recommendations.

    3. Check and clean the hoover filter. A dirty filter can restrict airflow and reduce suction power. Refer to your hoover's user manual for instructions on how to remove and clean the filter. If the filter is very dirty or damaged, it may need to be replaced.

    4. Check the hoover's suction port. Sometimes obstructions can form at the suction inlet, limiting suction power. Use a clean cloth or small brush to clean the suction port and make sure it is clear.

    Did the answer solve your problem?
    No
  • No light on the loading indicator

    If you don't see any light on the charging indicator of your hoover, here are some things to check:

    1. Make sure the charger is properly connected to a working electrical outlet. Also check that the charger cable is not damaged.

    2. Replace the appliance on the charging base properly. Make sure it is properly positioned and connected to the base. Check that the contacts between the hoover and the base are clean and not obstructed.

    3. Ensure that the hoover switch is in the OFF" position when placed on the charging base. Some models may need to be turned off for charging to begin.

    Did the answer solve your problem?

    No
  • The appliance no longer works or is malfunctioning.

    If your appliance is no longer working or is working incorrectly, here are some things to check:

    1. 1. Make sure that the switch on the appliance is set to ON. Sometimes the switch may be accidentally turned OFF, preventing the unit from working.

    2. Make sure that all parts of the appliance are correctly engaged. Ensure that the filters, brushes, battery (if applicable) and waste bin are correctly fitted. In some cases, improper attachment of these components can prevent the unit from working properly.

    3. Check the condition of the battery (if fitted). Make sure that the battery is sufficiently charged to power the machine. If the battery is low, the device may not work properly or may shut down quickly. If necessary, recharge the battery according to the manufacturer's instructions.

    4. Check if there is an error code or flashing light on the device. Refer to the user manual supplied with the device for the meaning of the flashing error codes or indicator lights. This may give you an indication of the problem with the device.

    Did the answer solve your problem?

    No
  • The appliance no longer cleans as it did at the beginning.

    If your machine is not cleaning as effectively as it used to, here are some steps to try to improve its performance:

    1. Check that the dustpan is correctly placed in the machine. Make sure that it is properly seated and that there is no play or gaps between the dust pan and the machine. Incorrect installation of the dust pan may result in loss of suction.

    2. Empty the dust container completely. If the dust container is full, it may reduce the efficiency of the unit. Be sure to empty the dust pan regularly to avoid excessive accumulation of dust and dirt.

    3. Check the condition of the filter. If the filter is dirty or clogged, it may impede airflow and reduce cleaning performance. Follow the instructions provided in the user manual of your appliance to remove and clean the filter. Be sure to let the filter dry completely before replacing it.

    4. Check the brushes and accessories. Make sure that the brushes and accessories on your machine are clean and in good condition. Worn or clogged brushes or accessories can limit the cleaning efficiency of the machine.

    5. Be sure to follow the maintenance recommendations provided by the appliance manufacturer. This may include specific advice on cleaning, replacement of parts or other maintenance actions necessary to maintain optimum performance of the appliance.

    Did the answer solve your problem?

    No

use

  • What is the average charging time of the hoover?

    The average charging time of the hoover is approximately 5 hours for a full charge. However, please note that the charging time may vary depending on the specific model of the hoover and its battery characteristics.

    For regular use during the week, it is recommended to leave the hoover on its charging base when not in use. This will keep the battery charged and in good condition. If the hoover is left unplugged for long periods of time, the battery can become completely discharged, which can have a negative impact on its life.

    It is advisable to remove the battery from the hoover only if it will not be used for more than one month. In this case, make sure to fully charge the battery before storing it. It is best to avoid storing the appliance with a completely discharged battery, as this can permanently damage the battery.

    Did the answer solve your problem?

    No
  • How do I use my battery properly?

    Your hoover is battery operated and needs to be charged before use.

    Ideally, you should fully charge your hoover before using it to get the best battery life. Once charged, you can use it without leaving it constantly plugged into the mains.

    If you are going to be away for an extended period of time, it is recommended that you fully charge the hoover before unplugging it.
    Hoover batteries have a limited life, and it is best to keep them at about 50% charge for extended periods of non-use. This will extend the life of the battery.

    When you return, make sure you fully charge the hoover before using it again. This will ensure optimum battery performance.

    Did the answer solve your problem?

    No

We hope you have found the online help useful. Please feel free to send us your comments on this service.

Have you solved your problem? *

Did you find this service easy to use? *

Was the information given easy to understand? *

In your opinion, could we improve this service? *

We value your ideas on how to improve this service, and we will be sure to consider them.

The information collected is governed by the provisions of the law "Informatique et Libertés" of January 6, 1978 modified by the law of August 6, 2004. You have the right to access, rectify and modify data concerning you, as well as the right to oppose their processing. These rights can be exercised at any time, in particular with the company ADEVA - 8 rue Marc Seguin - Mitry-Mory